Integrating with Contentful
It is common for marketing and content teams to want an A/B testing solution with a point-and-click visual editor to make straightforward copy or image optimizations. However, these solutions most often rely on blocking scripts that cause performance degradations—slowing your site down by 200-500 milliseconds in best-case scenarios. You could avoid these performance issues by fully implementing feature flags for marketing experiments—but this will mean marketing has to rely on engineering for every test they want to run.
Using a headless CMS like Contentful, and a lightweight, robust feature flagging SDK, like Eppo, allows the best of both worlds: an easy way for marketing teams to run tests without sacrificing performance. In this tutorial, we will walk through how to set up Eppo’s Node SDK so Marketing teams can run their own experiments by updating Content defined in Contentful and feature flags in Eppo.
Installing Eppo's Contentful marketplace app
Eppo now supports seamless integration with Contentful via the Eppo Contentful marketplace app. This app allows you to create experiements directly within a Contentful blog post.
To get started, visit Eppo's Contentful app page and click the Get the app button to install.
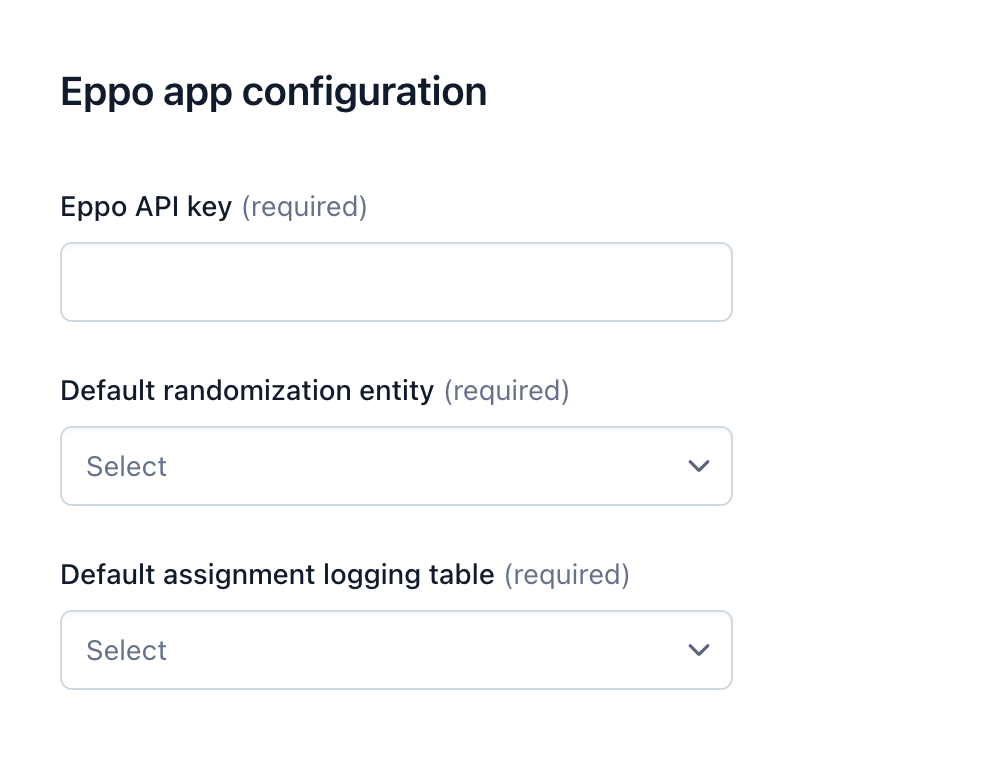
When installing the app, you should see a configuration screen that allows you to enter an Eppo API key along with various other settings.
Upon installation, you'll need to use an API key that has write access to Feature Flags and Experiments. To create a key, navigate to https://eppo.cloud/admin/api_keys, then click on Create key.
Copy the key that was generated and paste it into the Eppo API key field in Eppo's Contentful app configuration screen. You'll then need to select a Default randomization entity and Default assignment logging table. Click on Install to selected environments to finish installation.
Configuring a Content Type to use Eppo Experiments
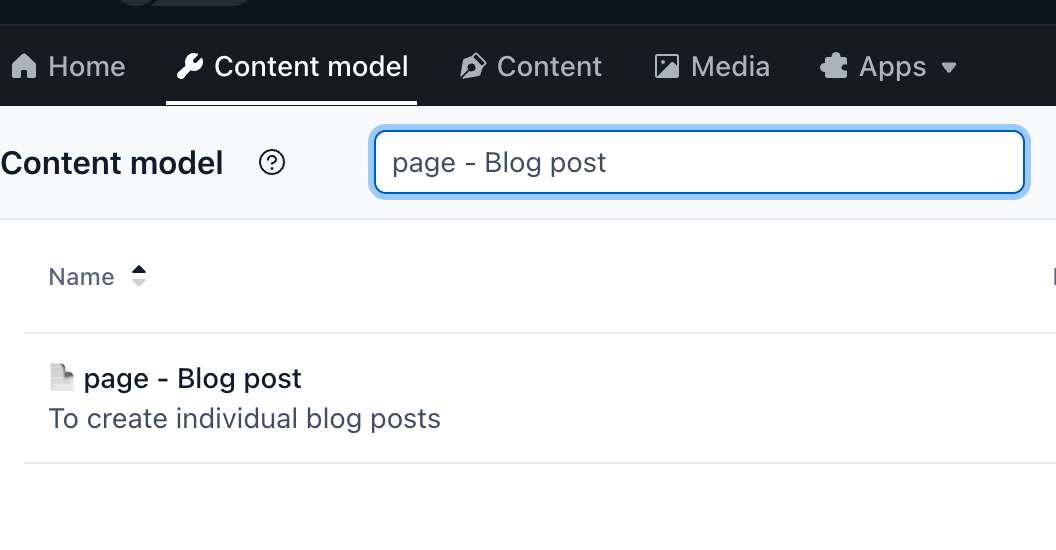
Next, we'll need to configure certain content types to use the Eppo plugin that we installed. In this example, we'll assume that we have a page - Blog post content model and that we want to directly run Eppo experiments within that model. To set this up, you'll need to click on Content model from the navigation menu, then click on page - Blog post from the list of models available.
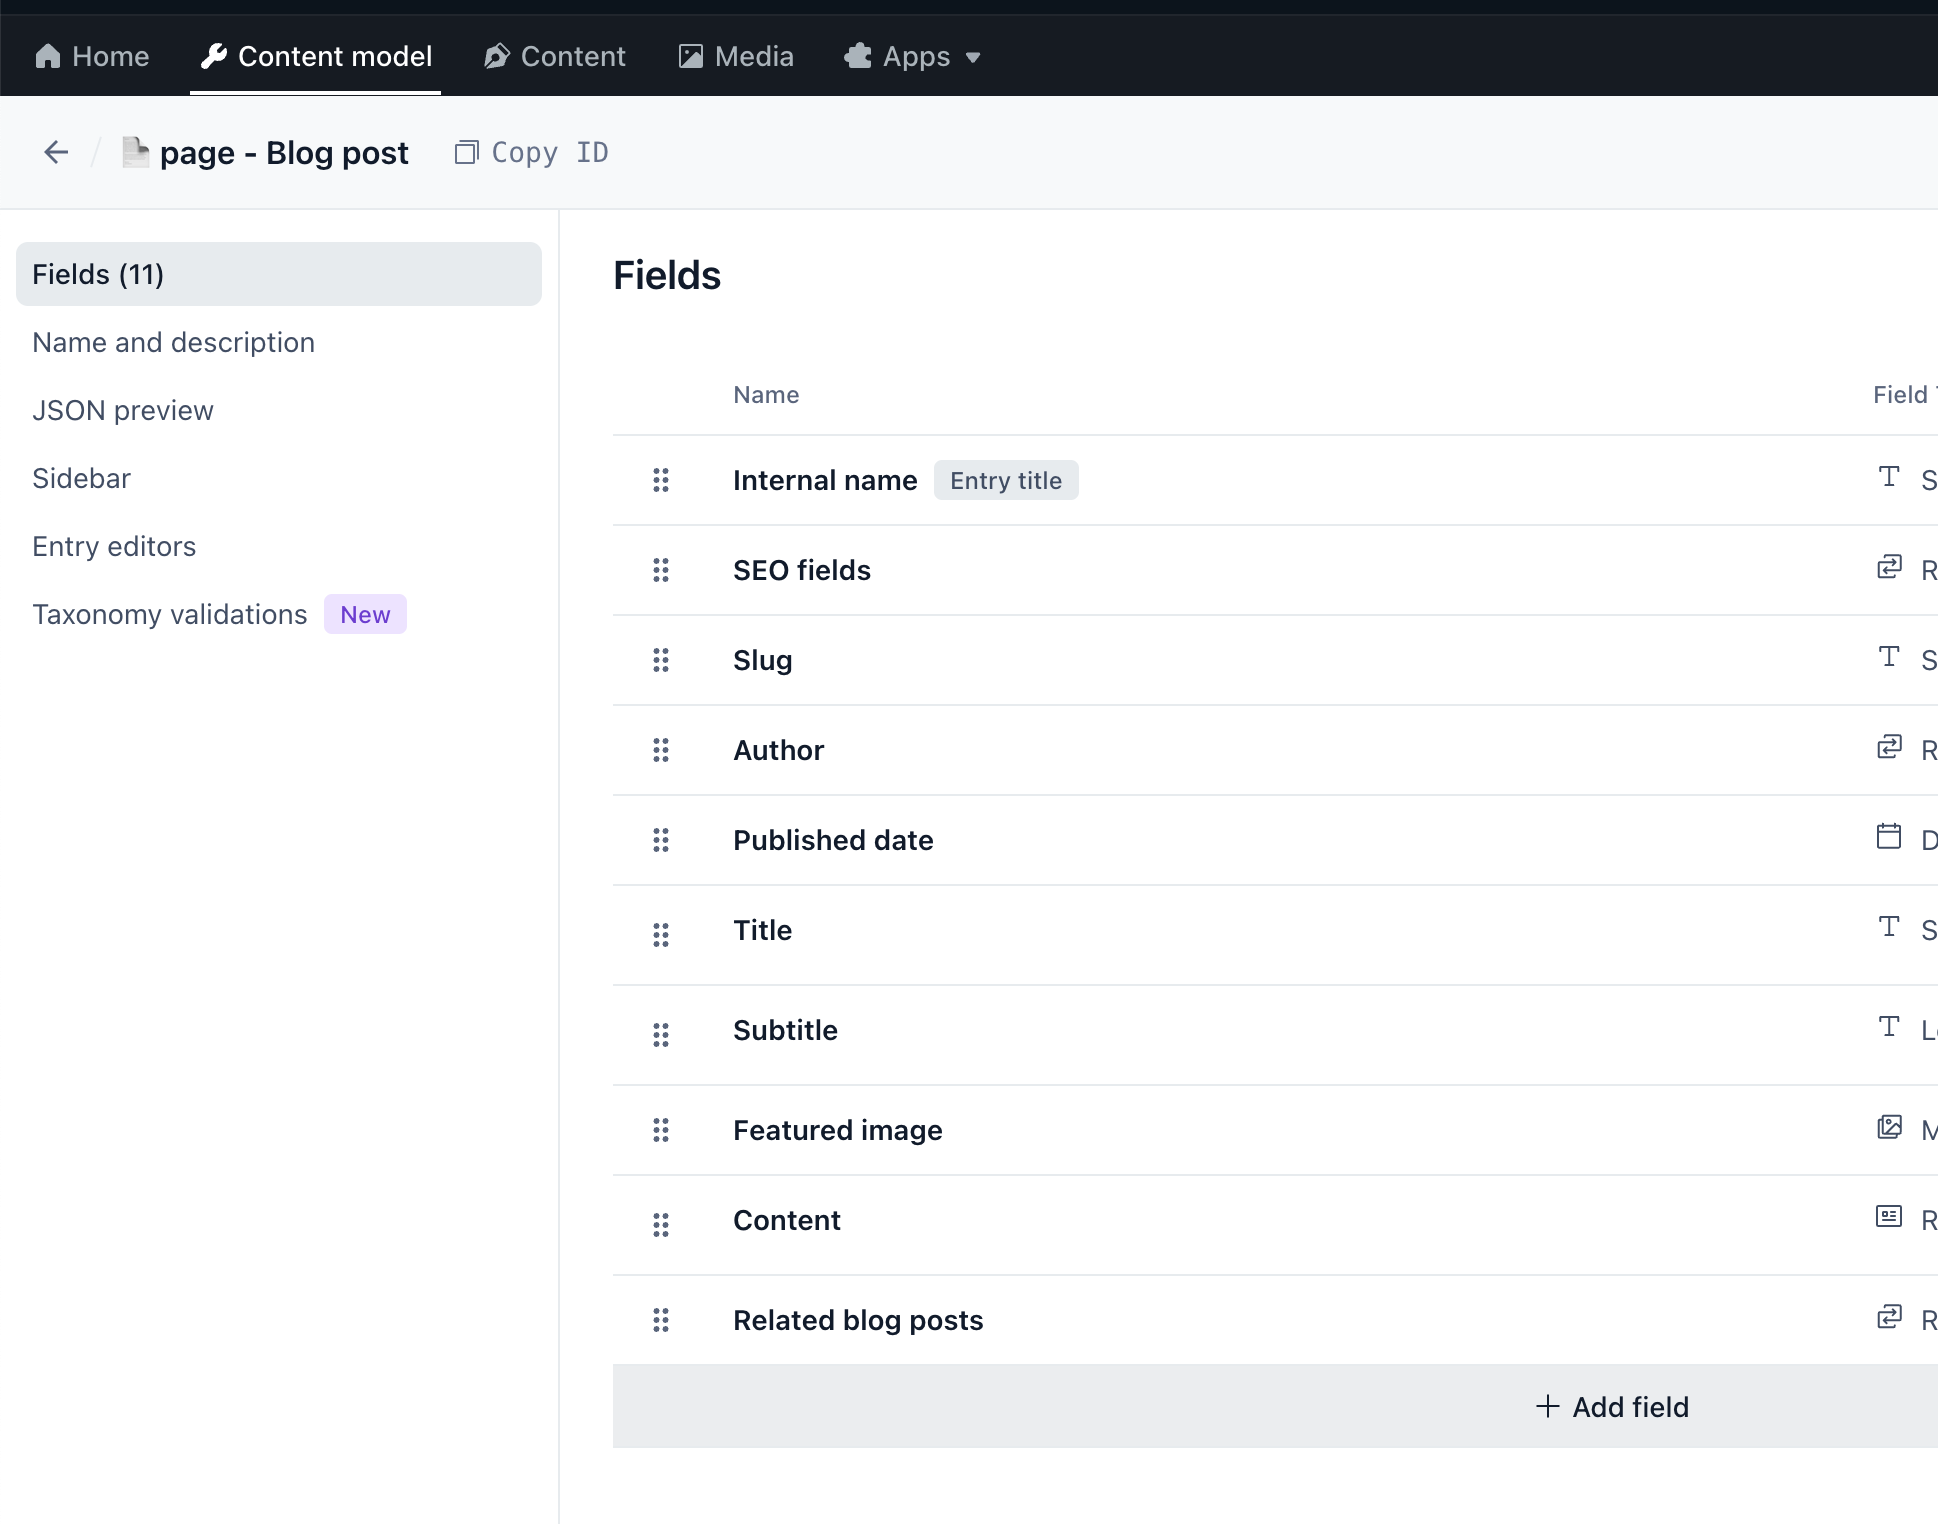
From within the "Fields" subpage of the "page - Blog post" management, you'll then want to click on + Add field.
On the modal that pops up, click Reference, then type in the name Eppo Experiment.
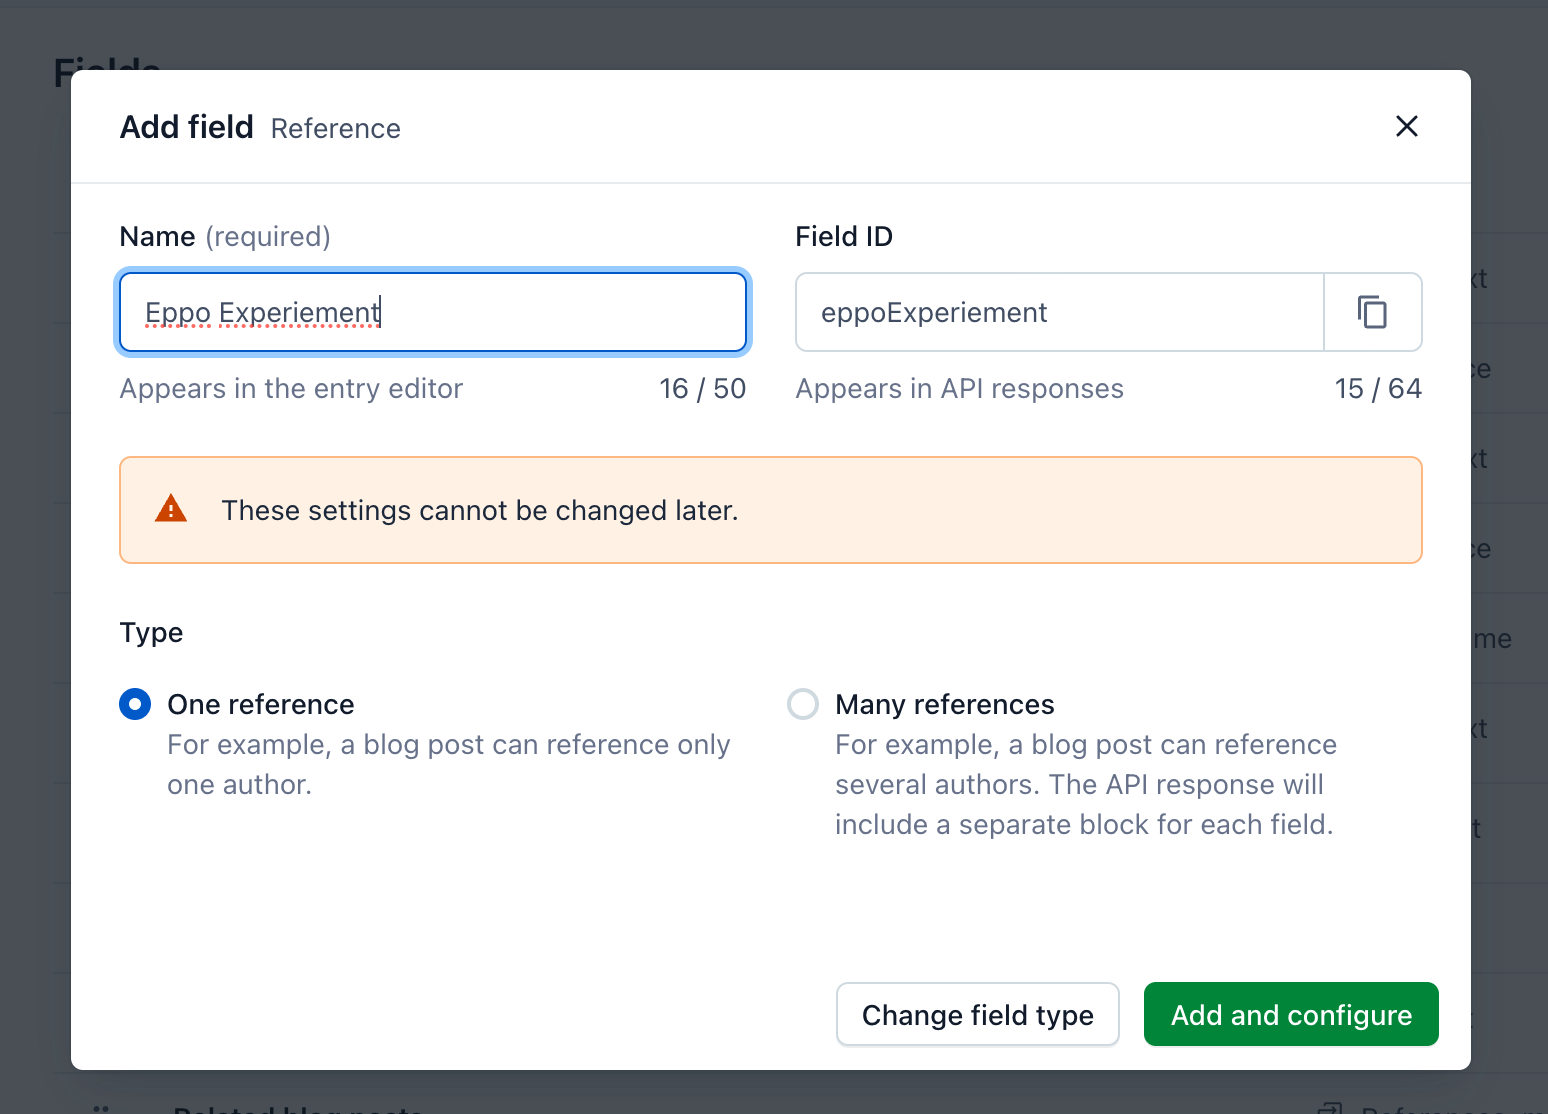
Then, click Add and configure.
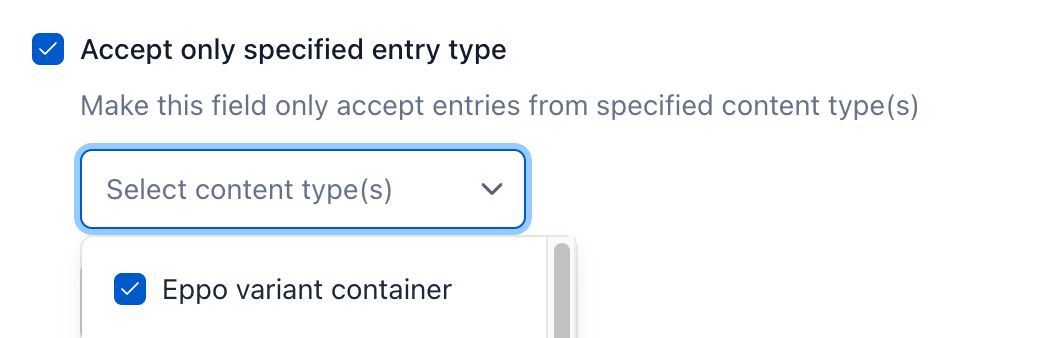
On the configuration screen for the field, make sure you check Accept only specified content type, with Eppo variant container selected. Click Confirm to save your changes.
The Eppo Contentful marketplace app is now configured for use with the page - Blog post content type! You can repeat this process for other content types that you want to run experiments with.
Running an experiment in Contentful
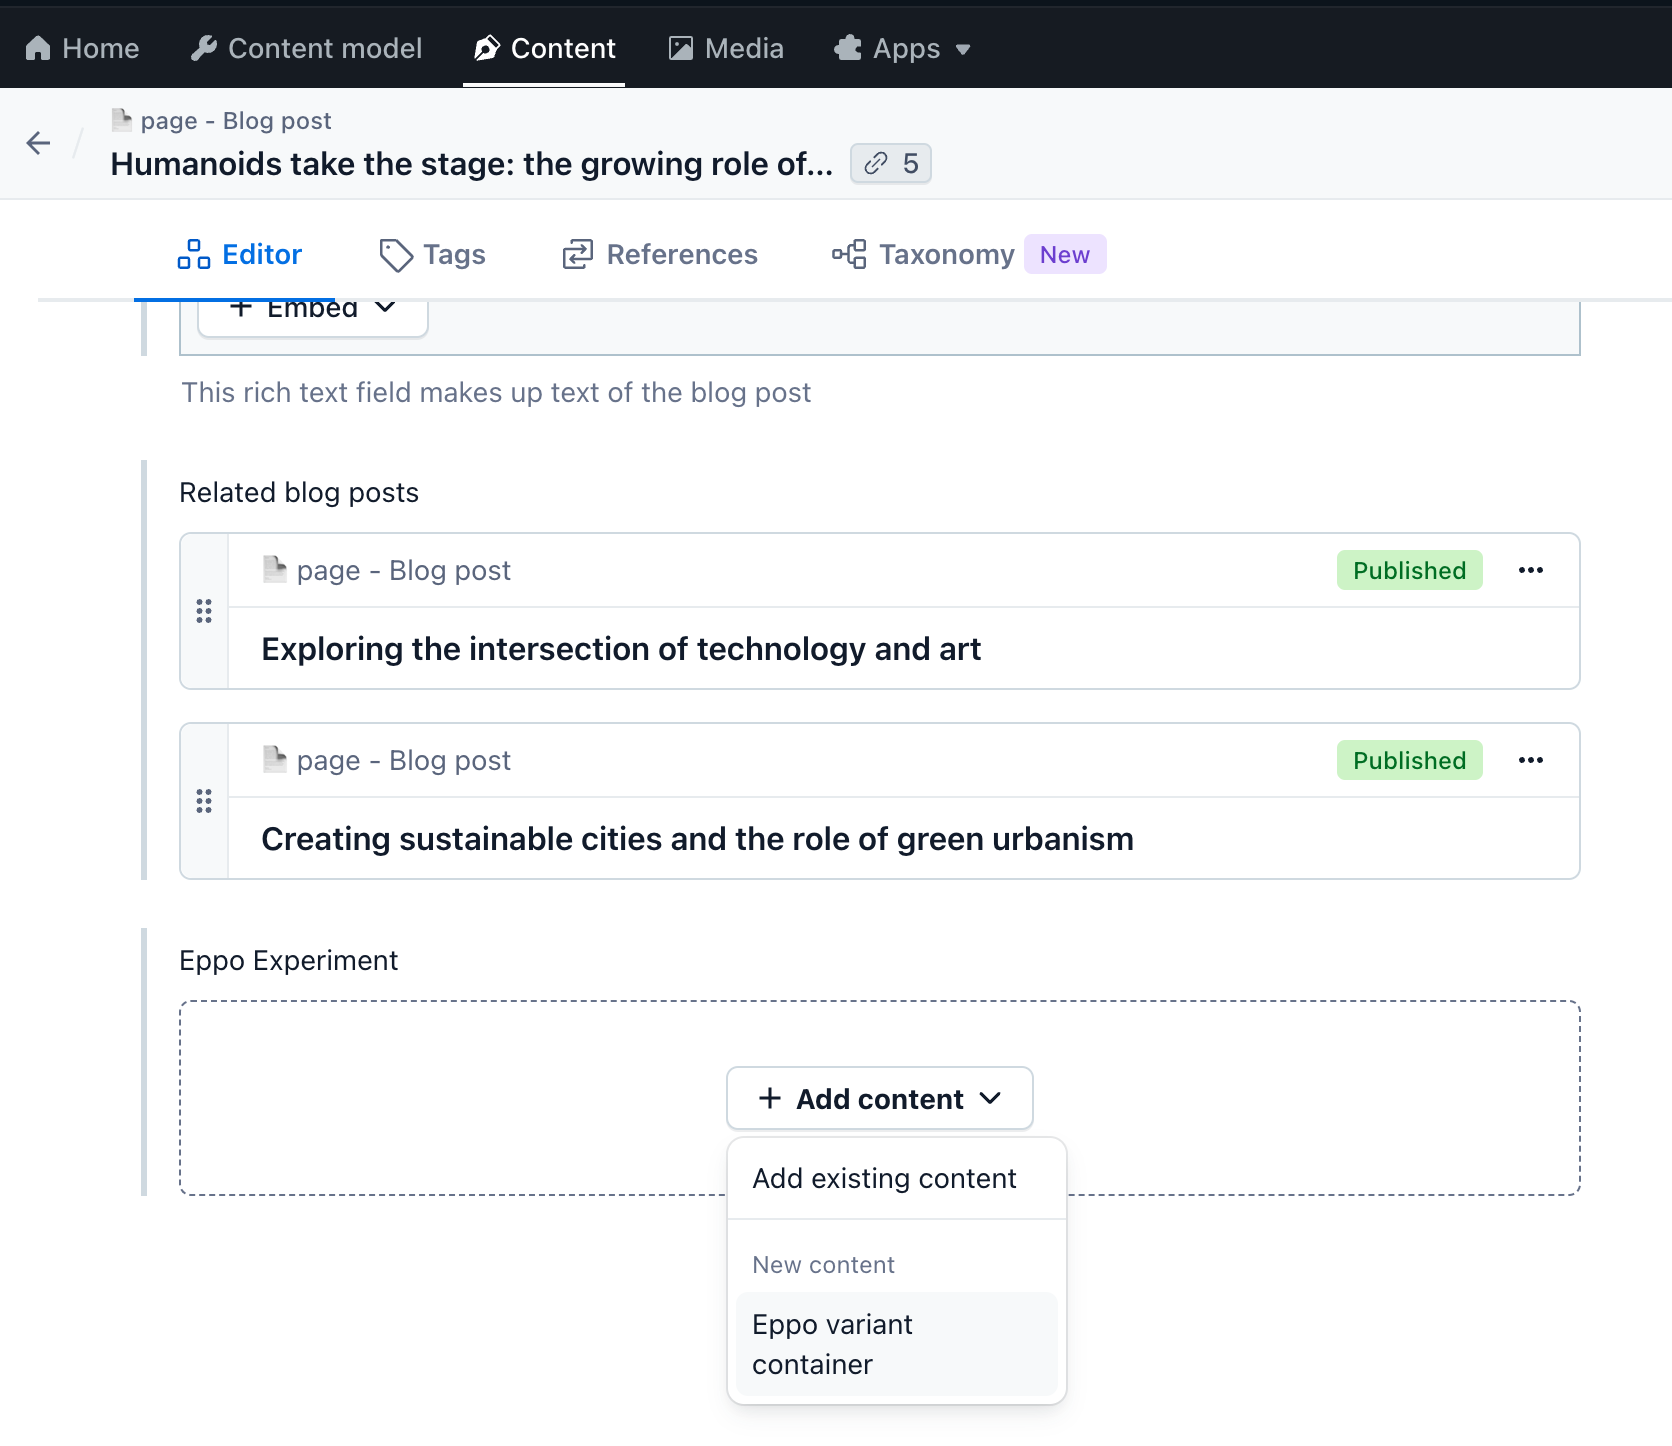
At this point, when you go to a blog-post entry in Contentful, you should see a new "Eppo Experiment" field. From here, click on + Add content, then click on Eppo variant container.
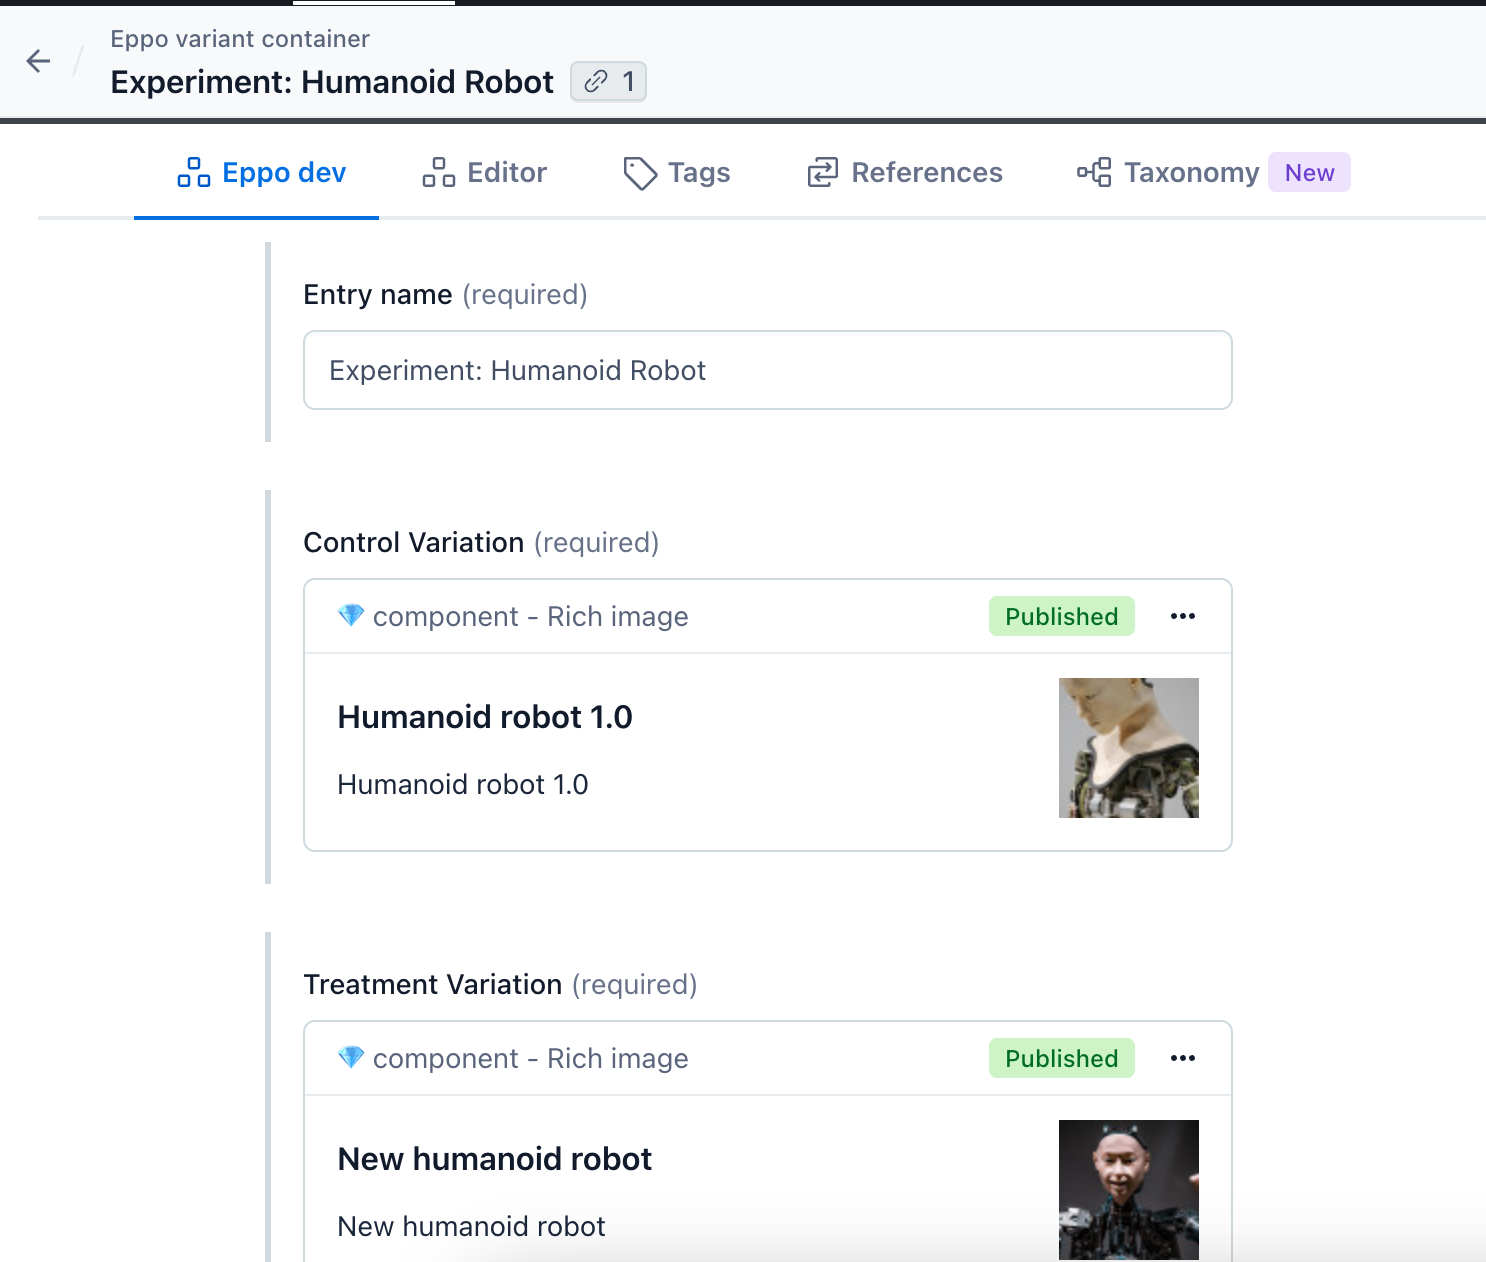
In this example, we'll create two "component - Rich image" variants to determine which "hero image" to display for the blog post. You can select existing images by clicking on Link existing entry, or you can link an image that doesn't exist yet by clicking on Create new entry and link. Click publish once you've finished.
Once you publish, a message will appear at the top of the screen letting you know that a new feature flag has been created in the Eppo UI. Click on on the link that says Go to Eppo feature flag to confirm this worked. From the Eppo UI, you can then enable the flag.
The experiment is not running until the linked feature flag is enabled in the Eppo UI. Don't forget to enable the feature flag.
The experiment also has a linked experiment analysis that is automatically created for you when you publish. This is the experiment in the Eppo UI where metrics can be added and you can monitor the experiment results. Learn more about configuring your analysis here.
That's it! You now have a feature flag and experiment configured for this blog post.
Updating your codebase to support Eppo experiments
Your codebase will require changes to support Eppo's Contentful marketplace app. Refer to the README.md instructions in Eppo's contentful-pages-router-blog-sample repository to integrate your Codebase with Contentful.