Running your first Switchback
This 10-minute guide will walk through configuring and running your first Switchback Experiment with Eppo. A Switchback Experiment is a special type of Experiment Allocation, so this guide will walk through setting up a Switchback Experiment within a Feature Flag, which shares some similarities with the Experiment Allocation Quickstart.
Prerequisites
To run a Switchback Experiment with Eppo, you'll need the following:
- An existing feature flag capturing the variations you want to test. If you have not already created a flag, we recommend you start with the feature flag quick start guide.
- A method for logging events to your data warehouse.
- A data warehouse service account connected to your Eppo workspace. For details on setting this up, see the connecting your warehouse section.
Setting up a Switchback Experiment
1. Ensure that the randomization unit is included in the subject attributes
Connect an event logger with the same instructions as in the Experiment Allocation Quickstart Guide.
Ensure that the randomization unit for the switchback experiment is included in the subject attributes. For example, if your switchback experiment is randomizing on city, ensure that city is included in the subject_attributes object when getting an assignment and logged to a column in the assignments table in your data warehouse.
const client = EppoSdk.getInstance();

const variant = client.getStringAssignment(
  "flag-key",
  "user-123",
  {
    "city": "sf",
  },
  "default-assignment"
);
2. Create a Switchback Experiment in a Feature Flag
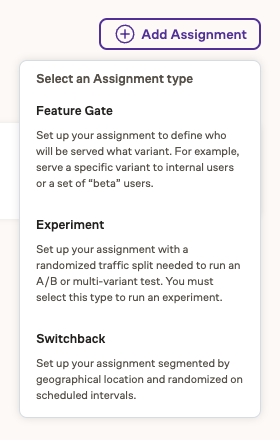
In your Feature Flag, click Add Assignment and select Switchback.
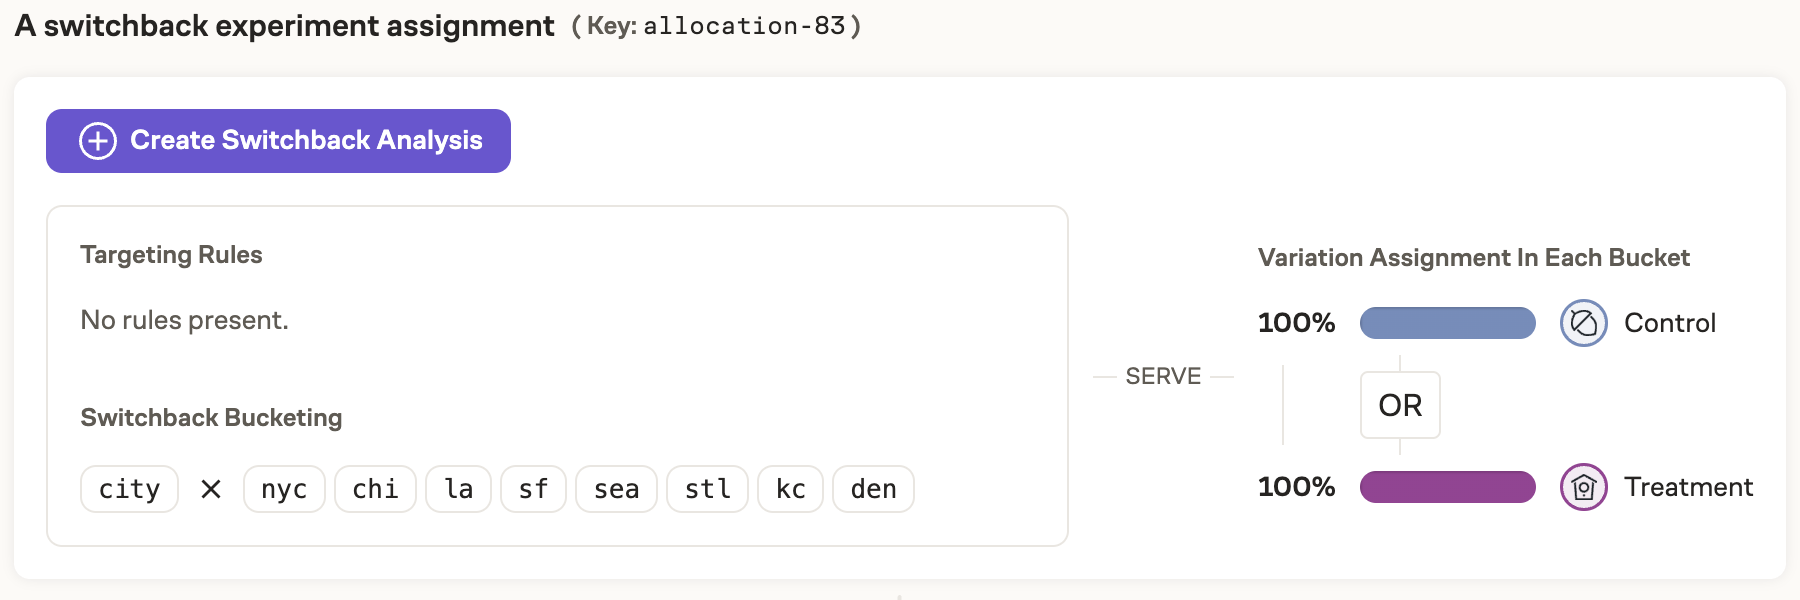
And then fill in the same randomization unit as you provided in the subject attributes and the values for which to generate switchback assignment schedules.

In this example, a variation will be randomly assigned every hour by the SDK within the assignment date range, and each of the listed cities will randomize independently of the others and thus will have its own schedule of assignments.
Additionally, a Switchback Assignment Logging Table will be written to your data warehouse. It will contain the assignment schedule for each of the values you provided in the Randomization Unit field.
The feature flag key in which the switchback assignment was created is the same feature flag key that you should use in the SDK function for getting assignments.
3. Create a Switchback Experiment
To analyze the results of the switchback experiment, click the Create Switchback Analysis button.
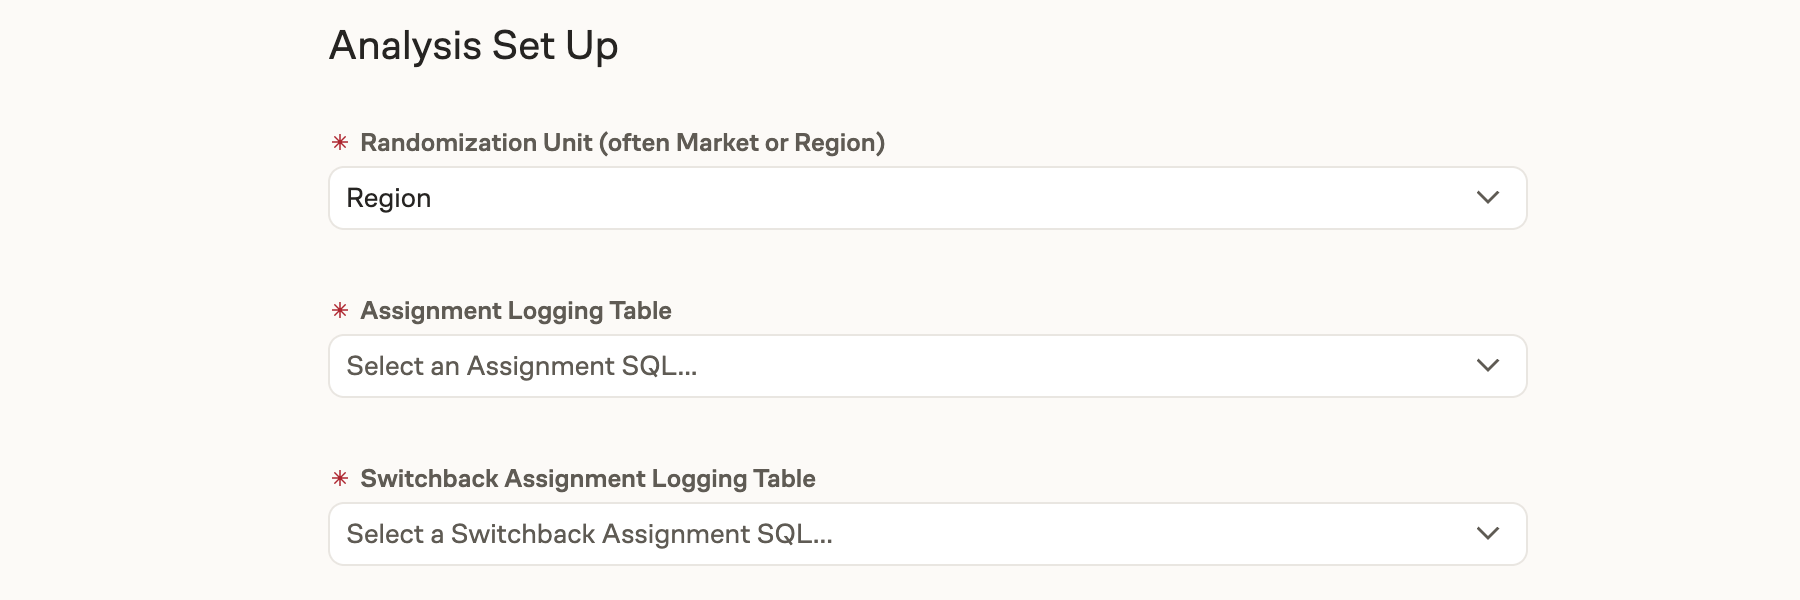
And select the Entity of the randomization unit and the two SQL definitions: the Assignment Logging Table, and the Switchback Assignment Logging Table.
Then proceed with the remaining steps as shown in the UI. Further details for setting up a switchback analysis can be found in the Experiment Analysis for Switchbacks section.