Using Eppo's YAML Schema
Eppo's YAML schema allows you to define certified metrics with the same flexibility as when creating in the UI. This page walks through the basics of defining metrics in yaml as well as syncing metrics from either your local environment or from a version control system like GitHub.
Certified Metric schema
Each yaml file can define fact sources, metrics, or both. This section describes the yaml schema in detail and provides a few examples.
Fact sources
Certified metric files can define one or more fact sources. The fact source schema is shown below:
| Property | Description | Example |
|---|---|---|
name | A name for the source to display in the Eppo UI | Purchases |
sql | The SQL definition for the source | |
timestamp_column | The column that represents the time the fact occurred | purchase_timestamp |
entities | A list of entities in the table, each element containing the name of an existing entity created in the Eppo UI and the corresponding column | |
facts | A list of fact values in the table, their corresponding column, and optionally, a description and desired change (either increase or decrease) | |
properties (optional) | An optional list of fact properties in the table, their corresponding column, an optional description, and an optional include_experiment_computation flag | |
reference_url (optional) | An optional URL to link to in the Eppo UI | https://github.com/<my_repo> |
partition_date (optional) | A date column used to partition the fact source data, which can improve incremental refresh performance on partitioned warehouse tables | event_date |
always_full_refresh (optional) | If true, this fact source is always fully refreshed instead of incrementally updated (default is false) | true or false |
The include_experiment_computation flag on a fact property controls whether that property is available for breaking out experiment results (default is false). See fact properties for more detail.
Metrics
Each certified metric yaml file can also define one or more metrics (either simple, ratio, or percentile). The metrics schema is shown below:
| Property | Description | Example |
|---|---|---|
name | A name for the metric to show in the Eppo UI. Note that this is the unique identifier for the metric used when syncing metrics | Purchase Revenue |
description (optional) | An optional description for the metric | All non-subscription revenue |
type (optional) | The kind of metric to calculate, one of simple, ratio, or percentile. If not specified, the type is inferred from the aggregation objects provided (numerator only is simple, numerator + denominator is ratio, percentile is percentile). | percentile |
entity | The entity that the metric connects to | User |
numerator | An aggregation object (see below) to specify how to compute the metric numerator | |
denominator (optional) | An aggregation object (see below) that, if set, will specify the metric as a ratio | |
percentile (optional) | A percentile object (see below) that, if set, will specify the metric as a percentile metric | |
is_guardrail (optional) | Whether the metric should be analyzed for every experiment run on this entity (default is false) | true or false |
metric_display_style (optional) | How to display the metric, either decimal or percent (default is decimal) | decimal |
minimum_detectable_effect (optional) | The default MDE for the metric. This is also called precision in the Eppo UI. | 0.02 |
reference_url (optional) | An optional URL to link to in the Eppo UI | https://github.com/.../<my_metric> |
guardrail_cutoff (optional) | A Guardrail cutoff value for a metric, as a decimal representing a percentage. If a metric is expected to increase, this value should be negative, to warn when the metric is decreasing by more than this value. If a metric is expected to decrease, this value should be positive, to warn when the metric is increasing by more than this value. | -0.05 |
desired_change (optional) | The direction of change that is considered good for this metric, either increase or decrease. If not specified, the desired change is inferred from the facts the metric is based on. | increase |
Aggregations
When defining Certified Metrics, you'll need to specify how to aggregate the metric numerator and optionally the denominator. If the denominator is not specified, Eppo will normalize the metric by the number of subjects (e.g., users) enrolled in the experiment.
Numerators and denominators follow a similar schema, with some fields only being applicable to numerators:
| Property | Description | Example |
|---|---|---|
fact_name | The name of a fact as specified in fact_source* | Purchase Revenue |
operation | The aggregation method to use. For numerator aggregations options are sum, count, count_distinct, distinct_entity, threshold, conversion, retention, last_value, first_value. For denominator aggregations, valid options are sum, count, count_distinct, distinct_entity, last_value, first_value. Note: See Constraints and Limitations for operation-specific parameter restrictions. | sum |
aggregation_timeframe_start_value (optional) | Timeframe units since assignment after which events are included. Constraint: Cannot be used with conversion operations. Requires aggregation_timeframe_unit to be specified. | 2 |
aggregation_timeframe_end_value (optional) | Timeframe units since assignment after which events are excluded. Constraint: Cannot be used with conversion operations. Requires aggregation_timeframe_unit to be specified. | 7 |
aggregation_timeframe_unit (optional) | The time unit to use: minutes, hours, days, weeks, or calendar_days. Constraint: Required when any timeframe parameters are used. | days |
winsorization_lower_percentile (optional) | Percentile at which to clip aggregated metrics. Constraint: Only supported for sum, count, last_value, and first_value operations. | 0.001 |
winsorization_upper_percentile (optional) | Percentile at which to clip aggregated metrics. Constraint: Only supported for sum, count, last_value, and first_value operations. | 0.999 |
winsor_lower_fixed_value (optional) | A fixed value at which to clip aggregated metrics on the lower end, used instead of winsorization_lower_percentile. | 0 |
winsor_upper_fixed_value (optional) | A fixed value at which to clip aggregated metrics on the upper end, used instead of winsorization_upper_percentile. | 1000 |
enable_aging_subject_filter (optional) | If true, subjects (entities) are excluded from the metric until they have been enrolled long enough to complete the metric's observation window. Useful for metrics, such as those with a timeframe, that are only meaningful after a minimum period has elapsed. | true or false |
filters (optional) | A list of filters to apply to metric, each containing a fact property, an operation (equals or not_equals), and a list of values | |
retention_threshold_days (optional, numerators only) | Number of days to use in retention calculation. Constraint: Only used with operation = retention. Cannot be combined with other advanced aggregation parameters. | 7 |
conversion_threshold_days (optional, numerators only) | Number of days to use in conversion calculation. Constraint: Only used with operation = conversion. Cannot be combined with other advanced aggregation parameters or timeframe parameters. | 7 |
threshold_metric_settings (optional, numerators only) | Settings for threshold metrics. Constraint: Required when operation = threshold. Cannot be combined with other advanced aggregation parameters. | |
*Note that fact_name can reference facts defined in a different yaml file.
Percentile
Percentile metrics use a percentile object in place of a numerator/denominator. Setting percentile makes the metric a percentile metric.
| Property | Description | Example |
|---|---|---|
fact_name | The name of a fact as specified in fact_source* | Latency |
percentile_value | The percentile to calculate, as a decimal between 0 and 1 | 0.95 |
filters (optional) | A list of filters to apply to the metric, each containing a fact property, an operation (equals or not_equals), and a list of values | |
For example, to define the 95th percentile of request latency:
metrics:
- name: P95 Latency
entity: User
type: percentile
percentile:
fact_name: Latency
percentile_value: 0.95
Constraints and Limitations
When defining certified metrics, there are several important constraints to be aware of. These validation rules help ensure your metrics are configured correctly and will help prevent common configuration errors.
Winsorization Constraints
Winsorization parameters (winsorization_lower_percentile and winsorization_upper_percentile) can only be used with the following aggregation operations:
sumcountlast_valuefirst_value
Cannot be used with:
count_distinctdistinct_entitythresholdretentionconversion
Attempting to use winsorization with unsupported operations like count_distinct or threshold will result in a validation error.
Advanced Aggregation Parameter Constraints
Advanced aggregation parameters have strict operation requirements:
Retention Metrics
- Must use:
retention_threshold_daysparameter - Cannot use: Other advanced aggregation parameters
- Operation: Must be
retention
Conversion Metrics
- Must use:
conversion_threshold_daysparameter - Cannot use: Other advanced aggregation parameters or timeframe parameters
- Operation: Must be
conversion
Threshold Metrics
- Must use:
threshold_metric_settingsparameter - Cannot use: Other advanced aggregation parameters
- Operation: Must be
threshold
Timeframe Parameter Constraints
Timeframe parameters (aggregation_timeframe_start_value, aggregation_timeframe_end_value, aggregation_timeframe_unit) have the following restrictions:
- Cannot be used with
conversionoperations - Must include
aggregation_timeframe_unitif any timeframe parameters are specified - The deprecated
aggregation_timeframe_valueparameter should be replaced withaggregation_timeframe_end_value
Threshold Metric Settings
When using threshold_metric_settings for threshold operations, the settings object must include:
comparison_operator: The comparison operator to use (e.g.,gt,lt,gte,lte,eq)aggregation_type: The aggregation type to apply before threshold comparisonbreach_value: The threshold value to compare againsttimeframe_unit: The time unit for the threshold calculationtimeframe_value: The time value for the threshold calculation
Denominator Operation Constraints
For ratio metrics, denominator aggregations are limited to:
sumcountcount_distinctdistinct_entity
Cannot use advanced operations like threshold, retention, or conversion in denominators.
Common Validation Examples
Here are some examples of invalid configurations that will trigger validation errors:
❌ Invalid: Winsorization with count_distinct
numerator:
fact_name: User ID
operation: count_distinct
winsorization_lower_percentile: 0.01 # ERROR: Cannot winsorize count_distinct
❌ Invalid: Threshold without threshold_metric_settings
numerator:
fact_name: Revenue
operation: threshold # ERROR: Must include threshold_metric_settings
❌ Invalid: Mixed advanced aggregation parameters
numerator:
fact_name: User ID
operation: retention
retention_threshold_days: 7
conversion_threshold_days: 14 # ERROR: Cannot mix retention and conversion parameters
❌ Invalid: Timeframe with conversion
numerator:
fact_name: User ID
operation: conversion
conversion_threshold_days: 7
aggregation_timeframe_start_value: 1 # ERROR: Cannot use timeframe with conversion
✅ Valid: Proper threshold configuration
numerator:
fact_name: Revenue
operation: threshold
threshold_metric_settings:
comparison_operator: gt
aggregation_type: sum
breach_value: 100
timeframe_unit: days
timeframe_value: 7
Examples
Simple Revenue Metrics
As an example, if you have a central source-of-truth revenue table you can define both the table schema (fact_source) and metric semantics (metrics) in a yaml file like the one below. When Gross Revenue is analyzed in an experiment, Eppo will sum the gross_revenue column grouped by user_id and then measure the differences in these user-level aggregates between variants. To read more about how metrics are compiled into SQL, see the Simple Metrics page.
fact_sources:
- name: Revenue
sql: |
SELECT user_id
, revenue_timestamp
, gross_revenue
, net_revenue
FROM analytics_prod.revenue
timestamp_column: revenue_timestamp
entities:
- entity_name: User
  column: user_id
facts:
- name: Gross Revenue
column: gross_revenue
- name: Net Revenue
column: net_revenue
metrics:
- name: Gross Revenue
entity: User
numerator:
fact_name: Gross Revenue
operation: sum
- name: Net Revenue
entity: User
numerator:
fact_name: Net Revenue
operation: sum
Measuring User-Level Metrics for Company-Randomized Experiments
In B2B businesses it's often impractical to randomize at the user level. Instead, experiments are typically randomized by company. It is however still valuable to understand any impacts on user-level behavior. Fortunately Eppo makes this easy through Ratio Metrics.
As an example, imagine you are trying to get more users to engage with a "change log" page in your application. You can point Eppo at a log of page views and measure what share of users viewed the page of interest during the experiment:
fact_sources:
- name: Page Views
  sql: |
    SELECT user_id
        ,  company_id
        ,  page_viewed_timestamp
        ,  page_name
      FROM analytics_prod.page_views
  timestamp_column: page_viewed_timestamp
  entities:
  - entity_name: Company
    column: company_id
  facts:
  - name: User ID
    column: user_id
  properties:
  - name: Page Name
    column: page_name

metrics:
- name: Percent of users that viewed the change log
  entity: Company
  numerator:
    fact_name: User ID
    operation: count_distinct
    filters:
    - fact_property: Page Name
      operation: equals
      values:
      - Change Log
  denominator:
    fact_name: User ID
    operation: count_distinct
Note that a similar pattern can be applied for analyzing session-level metrics for a user-randomized experiment, or any other case where the analysis unit is more granular than the randomization unit.
Syncing metrics
Certified Metrics are synced using the eppo_metrics_sync python package. This package is a light wrapper that hits the Eppo metrics/sync API endpoint. If you prefer to integrate with the API directly, see the docs here.
This section walks through using the eppo_metrics_sync package to sync metrics both from your local environment (useful for developing metric yaml files) and from a GitHub repository (useful for long term version control). While the latter section focuses on GitHub, a similar approach can be use for any version control system.
From your local environment
To start, you'll need an Eppo API key with read/write Certified Metrics access. This can be created in the Eppo UI by navigating to Admin >> API Keys.
Next, install the eppo_metrics_sync package and set local environment variables:
python3 -m pip install eppo_metrics_sync
export EPPO_API_KEY=<your API key>
export EPPO_SYNC_TAG=local_dev_sync
Now, call the eppo_metrics_sync module and point it at a directory of yaml files:
python3 -m eppo_metrics_sync <path to your yaml files>
You should now see Certified Metrics in your Eppo workspace! To push updated metric definitions, simply call the eppo_metrics_sync module again.
From a GitHub repository
For long term version control, we recommend storing Certified Metric files in GitHub or a similar version control system.
Further, we recommend setting up a separate Eppo workspace for staging changes to Certified Metrics. Please contact your Eppo support representative or email support@geteppo.com to have this created.
To connect a GitHub repository, you’ll need to complete the following steps:
- Create an API key in both your production and staging Eppo workspaces. This can be done by going to Admin >> API Keys in each workspace. Make sure that the keys have read/write access to the Certified Metrics Sync permission
- Add the API keys as a GitHub secrets named
EPPO_API_KEYandEPPO_API_KEY_STAGING. (Alternatively, you can use GitHub environments, but will need to adjust the workflow yaml below slightly) - Create a new branch on the repository you want to connect, and add metric yaml files to a directory called
eppo_metrics(you can name this whatever you like, you’ll just need to adjust the directory name referenced in the GitHub workflow below) - Copy the following GitHub workflow yaml into a new file
.github/workflows/run_eppo_metric_sync.yaml. Replacedemo_company_metric_repositorywith something that applies to your business and the set of metrics you are syncing (e.g.,business_north_star_metrics)
We recommend specifying a specific version of the eppo-metrics-sync Python package to avoid unexpected changes. In the example below, it is set to version 0.0.3.
name: Sync Eppo Metrics

on:
  pull_request:
    branches:
      - main
  push:
    branches:
      - main

jobs:
  deploy:
    runs-on: ubuntu-latest

    steps:
    - uses: actions/checkout@v3
    - name: Set up Python 3.10
      uses: actions/setup-python@v3
      with:
        python-version: "3.10"
    - name: Install dependencies
      run: |
        python3 -m pip install --upgrade pip
        python3 -m pip install eppo-metrics-sync==0.1.6

    - name: Sync Eppo Metrics (Prod)
      env:
        EPPO_API_KEY: ${{ secrets.EPPO_API_KEY }}
        EPPO_SYNC_TAG: demo_company_metric_repository
      if: github.event_name != 'pull_request'
      run: |
        python3 -m eppo_metrics_sync eppo_metrics

    - name: Sync Eppo Metrics (Staging)
      env:
        EPPO_API_KEY: ${{ secrets.EPPO_API_KEY_STAGING }}
        EPPO_SYNC_TAG: demo_company_metric_repository
      run: |
        python3 -m eppo_metrics_sync eppo_metrics
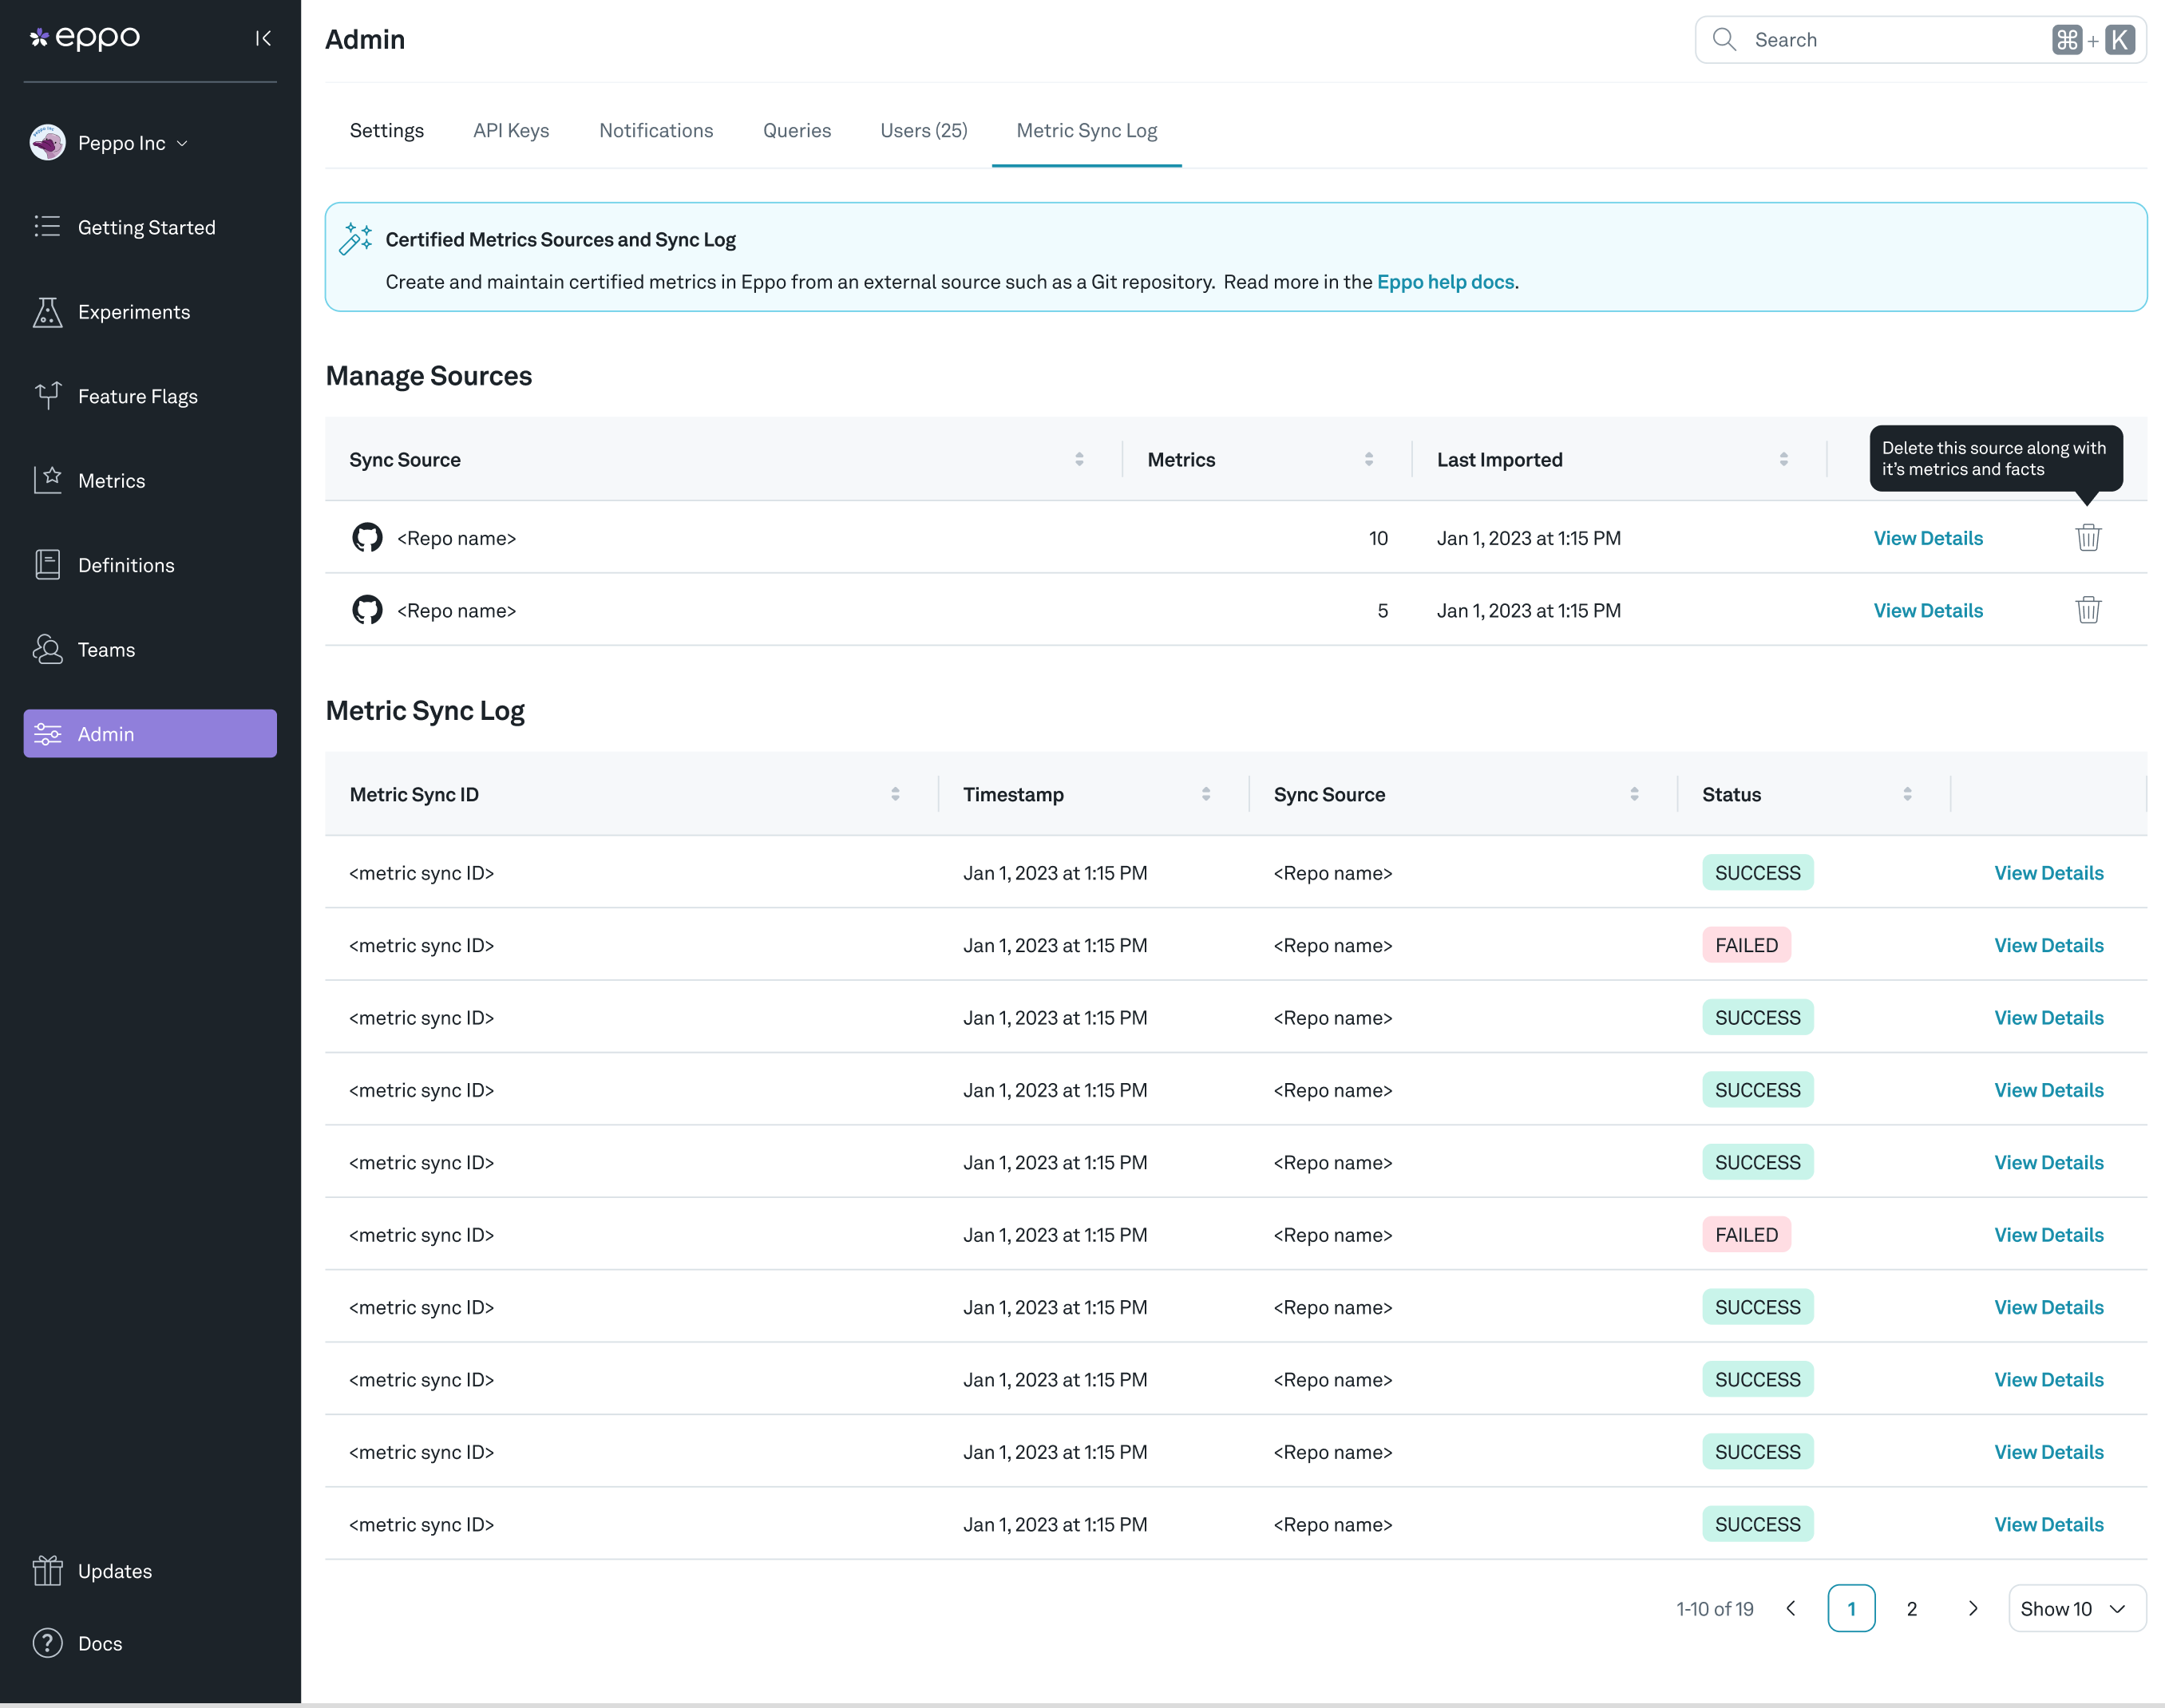
- Push this to your new GitHub branch and confirm that the new metrics are showing up in your staging environment. You can view the metric sync logs on the Admin page under Metric Sync Log
- Once you are happy with your new metrics, merge the branch to main and you should see your new Certified Metrics in your production Eppo environment!