
Certified metrics

Certified Metrics are a type of metric that are synced to Eppo from an outside source. This allows teams to use metrics that are stored in GitHub or other centralized repositories. Certified Metrics sit alongside metrics created in Eppo's UI to provide teams with maximum flexibility in the metrics they can track in experiments.

Certified Metrics allow you to define both fact sources and metrics in code. For example, a simple revenue metric might look like this:

fact_sources:
- name: Revenue
sql: |
SELECT * from analytics_prod.revenue
timestamp_column: revenue_timestamp
entities:
- entity_name: User
column: user_id
facts:
- name: Purchase Revenue
column: revenue

metrics:
- name: Total Revenue per User
entity: User
numerator:
fact_name: Purchase Revenue
operation: sum

Metrics are certified via the metric sync API. You can either post to that endpoint directly or use the eppo_metrics_sync python package to post a directory of yaml files to Eppo's API. See Syncing Metrics below for details.

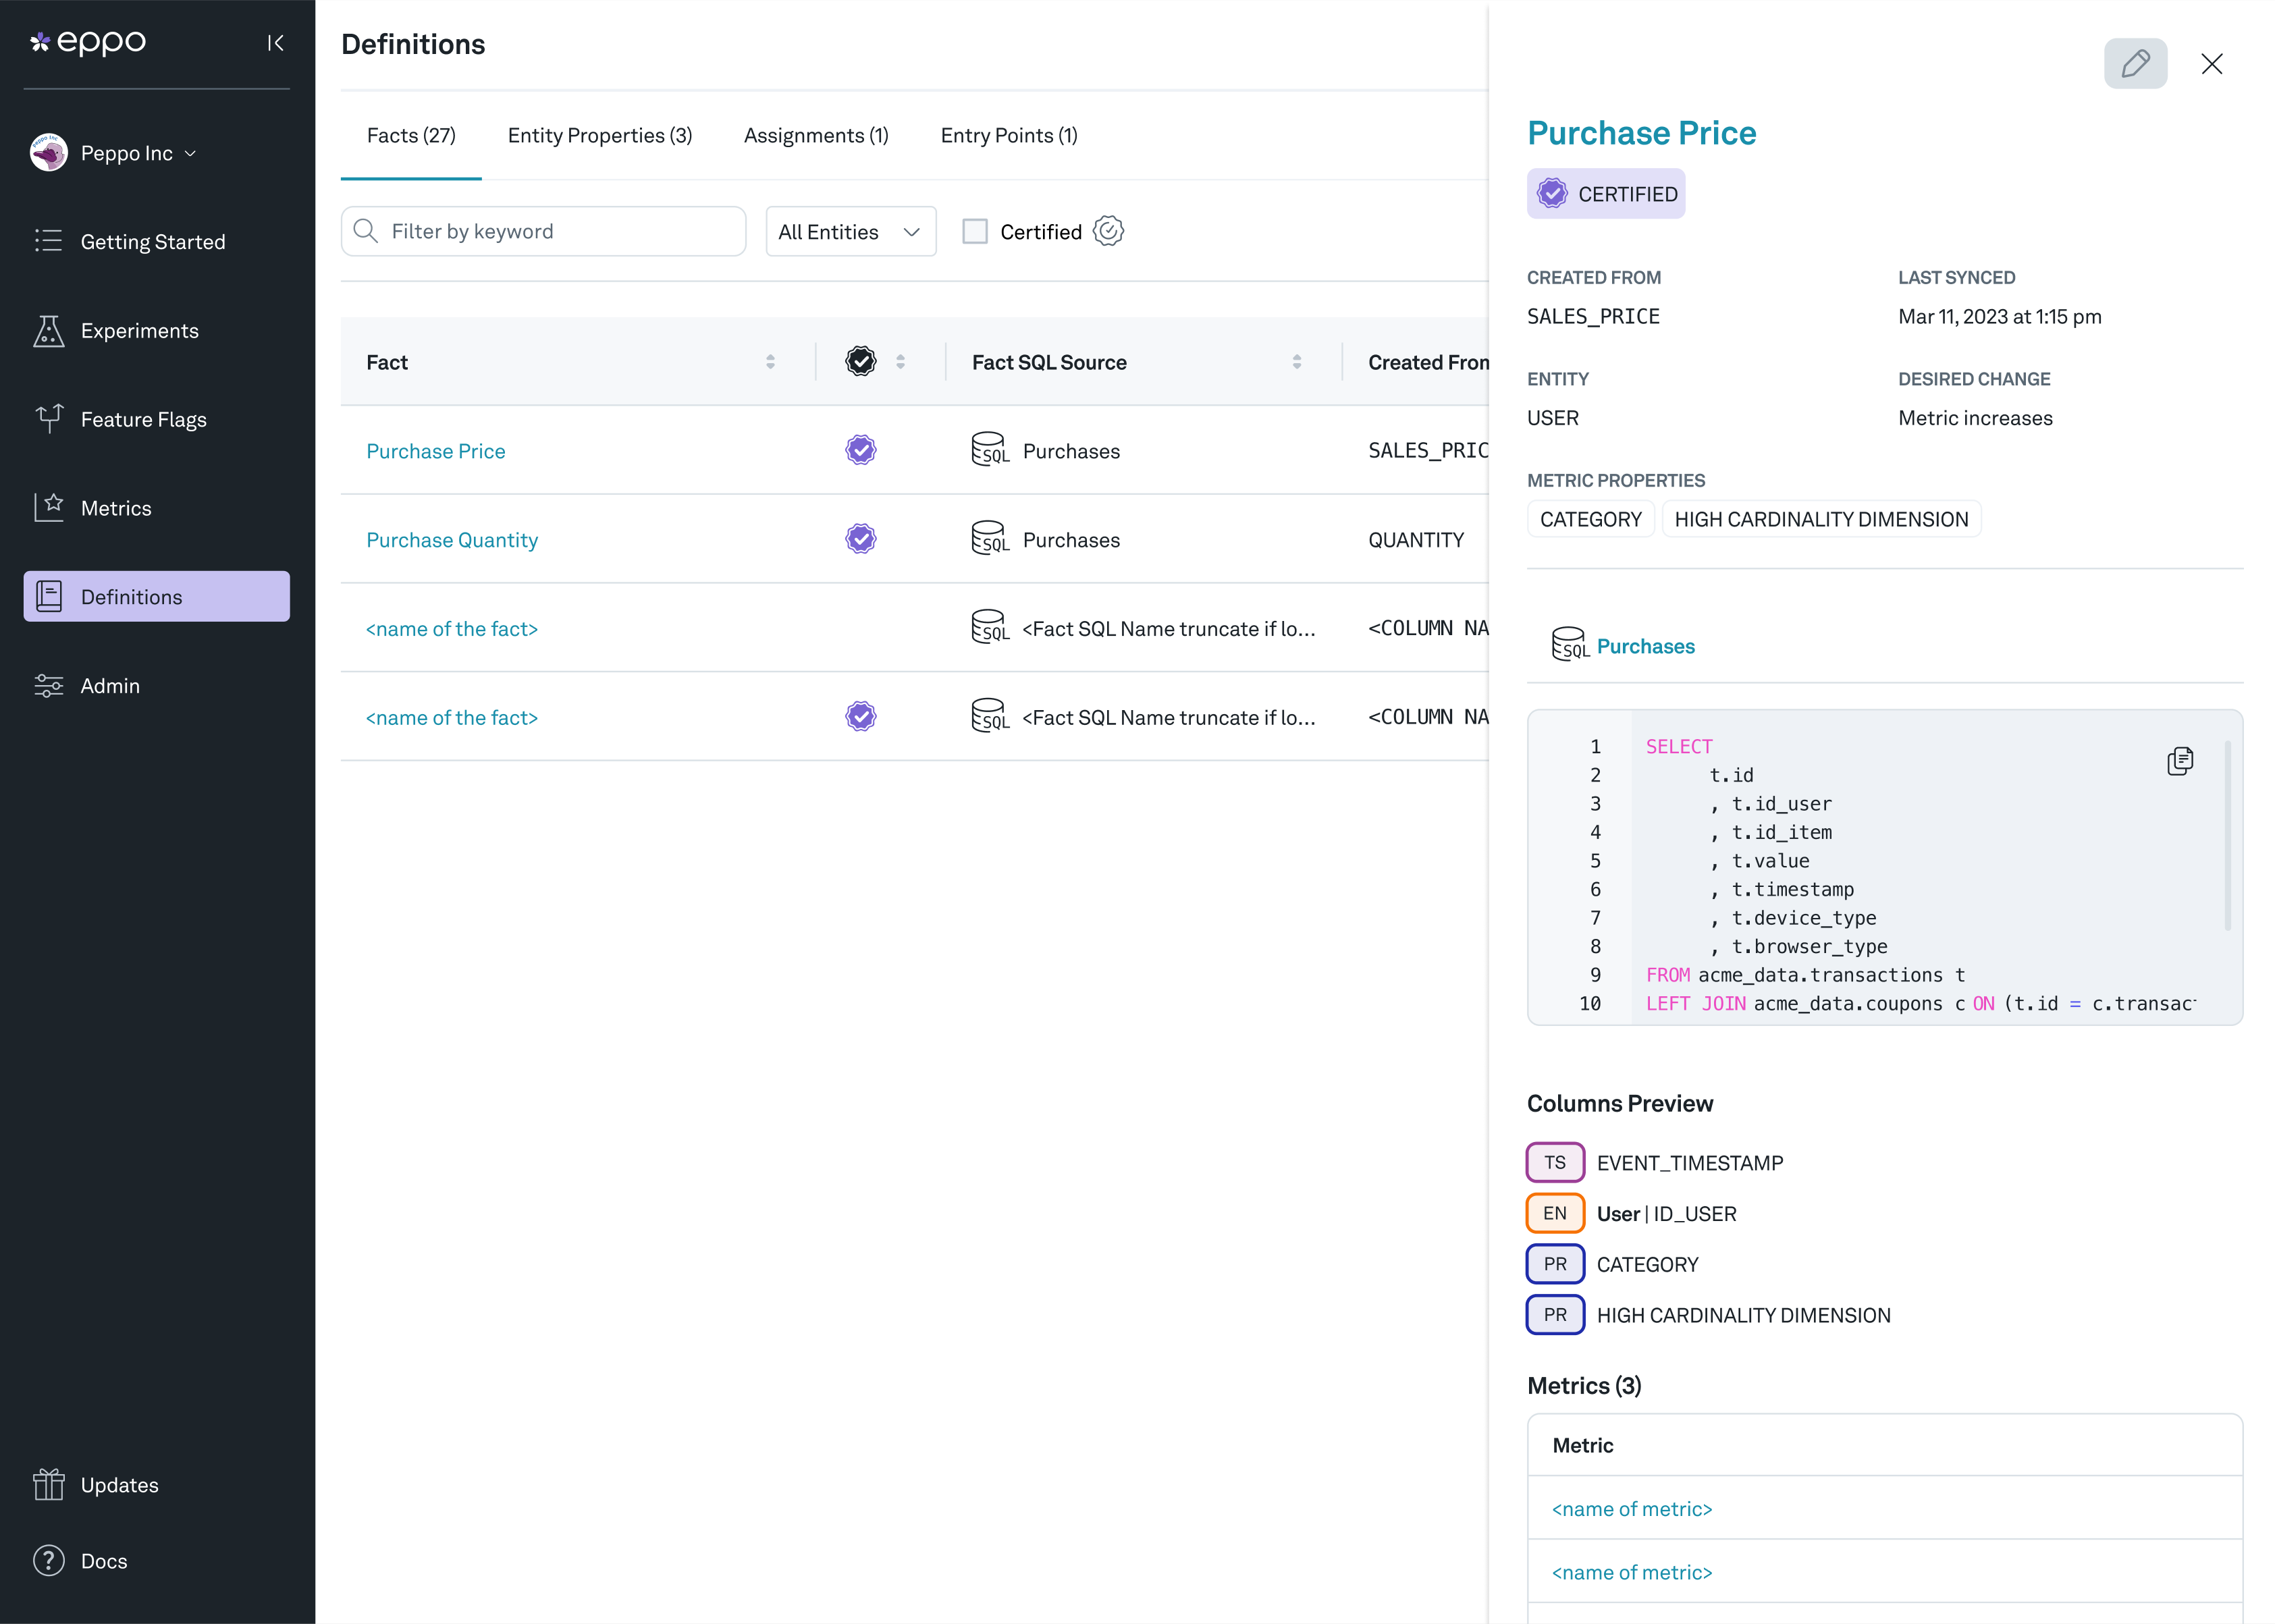
Any metric or fact source created through the metric sync API will have a Certified badge and will not be editable in the UI:

Certified metric example

Certified Metric schema

Eppo supports a yaml schema to describe Facts and Metrics. Each yaml file can define fact sources, metrics, or both. This section describes the yaml schema in detail and provides a few examples.

Fact sources

Certified metric files can define one or more fact sources. The fact source schema is shown below:

PropertyDescriptionExample
nameA name for the source to display in the Eppo UIPurchases
sqlThe SQL definition for the source
select * 
from analytics_prod.purchases
timestamp_columnThe column that represents the time the fact occurredpurchase_timestamp
entitiesA list of entities in the table, each element containing the name of an existing entity created in the Eppo UI and the corresponding column
- entity_name: User 
column: user_id
factsA list of fact values in the table, their corresponding column, and optionally, a description and desired change (either increase or decrease)
- name: Purchase Revenue 
column: purchase_revenue
description: ...
desired_change: increase
properties (optional)An optional list of fact properties in the table, their corresponding column, and an optional description
- name: Purchase Type 
column: purchase_type
description: ...
reference_url (optional)An optional URL to link to in the Eppo UIgithub.com/<my_repo>

Metrics

Each certified metric yaml file can also define one or more metrics (either simple or ratio). The metrics schema is shown below:

PropertyDescriptionExample
nameA name for the metric to show in the Eppo UI. Note that this is the unique identifier for the metric used when syncing metricsPurchase Revenue
description
(optional)
An optional description for the metricAll non-subscription revenue
entityThe entity that the metric connects toUser
numeratorAn aggregation object (see below) to specify how to compute the metric numerator
fact_name: Purchase Revenue 
operation: sum
denominator
(optional)
An aggregation object (see below) that, if set, will specify the metric as a ratio
fact_name: Purchase Revenue 
operation: count
is_guardrail
(optional)
Whether the metric should be analyzed for every experiment run on this entity (default is false)true or false
metric_display_style
(optional)
How to display the metric, either decimal or percent (default is decimal)decimal
minimum_detectable_effect
(optional)
The default MDE for the metric0.02
reference_url
(optional)
An optional URL to link to in the Eppo UIgithub.com/.../<my_metric>

Aggregations

When defining Certified Metrics, you'll need to specify how to aggregate the metric numerator and optionally the denominator. If the denominator is not specified, Eppo will normalize the metric by the number of subjects (e.g., users) enrolled in the experiment.

Numerators and denominators follow a similar schema, with some fields only being applicable to numerators:

PropertyDescriptionExample
fact_nameThe name of a fact as specified in fact_source*Purchase Revenue
operationThe aggregation method to use.

For numerator aggregations options are sum, count, count_distinct, distinct_entity, threshold, conversion, retention.

For denominator aggregations, valid options are sum, count, count_distinct, distinct_entity
sum
aggregation_timeframe_value
(optional)
How many timeframe units since assignment to include7
aggregation_timeframe_unit
(optional)
The time unit to use: minutes, hours, days, or weeksdays
winsorization_lower_percentile
(optional)
Percentile at which to clip aggregated metrics0.001
winsorization_upper_percentile
(optional)
Percentile at which to clip aggregated metrics0.999
filters
(optional)
A list of filters to apply to metric, each containing a fact property, an operation (equals or not_equals), and a list of values
- fact_property: Source 
operation: equals
values:
- organic
- search
retention_threshold_days
(optional, numerators only)
Number of days to use in retention calculation (only used if operation = retention)7
conversion_threshold_days
(optional, numerators only)
Number of days to use in conversion calculation (only used if operation = conversion)7
threshold_metric_settings
(optional, numerators only)
Setting for threshold metrics
comparison_operator: gt 
aggregation_type: sum
breach_value: 0
timeframe_unit: days
timeframe_value: 3

*Note that fact_name can reference facts defined in a different yaml file.

Examples

Simple Revenue Metrics

As an example, if you have a central source-of-truth revenue table you can define both the table schema (fact_source) and metric semantics (metrics) in a yaml file like the one below. When Gross Revenue is analyzed in an experiment, Eppo will sum the gross_revenue column grouped by user_id and then measure the differences in these user-level aggregates between variants. To read more about how metrics are compiled into SQL, see the Simple Metrics page.

fact_sources:
- name: Revenue
sql: |
SELECT user_id
, revenue_timestamp
, gross_revenue
, net_revenue
FROM analytics_prod.revenue
timestamp_column: revenue_timestamp
entities:
- entity_name: User
column: user_id
facts:
- name: Gross Revenue
column: gross_revenue
- name: Net Revenue
column: net_revenue

metrics:
- name: Gross Revenue
entity: User
numerator:
fact_name: Gross Revenue
operation: sum
- name: Net Revenue
entity: User
numerator:
fact_name: Net Revenue
operation: sum

Measuring User-Level Metrics for Company-Randomized Experiments

In B2B businesses it's often impractical to randomize at the user level. Instead, experiments are typically randomized by company. It is however still valuable to understand any impacts on user-level behavior. Fortunately Eppo makes this easy through Ratio Metrics.

As an example, imagine you are trying to get more users to engage with a "change log" page in your application. You can point Eppo at a log of page views and measure what share of users viewed the page of interest during the experiment:

fact_sources:
- name: Page Views
sql: |
SELECT user_id
, company_id
, page_viewed_timestamp
, page_name
FROM analytics_prod.page_views
timestamp_column: page_viewed_timestamp
entities:
- entity_name: Company
column: company_id
facts:
- name: User ID
column: user_id
properties:
- name: Page Name
column: page_name

metrics:
- name: Percent of users that viewed the change log
entity: Company
numerator:
fact_name: User ID
operation: count_distinct
filters:
- fact_property: Page Name
operation: equals
values:
- Change Log
denominator:
fact_name: User ID
operation: count_distinct

Note that a similar pattern can be applied for analyzing session-level metrics for a user-randomized experiment, or any other case where the analysis unit is more granular than the randomization unit.

Syncing metrics

Certified Metrics are synced using the eppo_metrics_sync python package. This package is a light wrapper that hits the Eppo metrics/sync API endpoint. If you prefer to integrate with the API directly, see the docs here.

This section walks through using the eppo_metrics_sync package to sync metrics both from your local environment (useful for developing metric yaml files) and from a GitHub repository (useful for long term version control). While the latter section focuses on GitHub, a similar approach can be use for any version control system.

From your local environment

To start, you'll need an Eppo API key with read/write Certified Metrics access. This can be created in the Eppo UI by navigating to Admin >> API Keys.

Next, install the eppo_metrics_sync package and set local environment variables:

python3 -m pip install eppo_metrics_sync
export EPPO_API_KEY=<your API key>
export EPPO_SYNC_TAG=local_dev_sync

Now, call the eppo_metrics_sync module and point it at a directory of yaml files:

python3 -m eppo_metrics_sync <path to your yaml files>

You should now see Certified Metrics in your Eppo workspace! To push updated metric definitions, simply call the eppo_metrics_sync module again.

From a GitHub repository

For long term version control, we recommend storing Certified Metric files in GitHub or a similar version control system.

Further, we recommend setting up a separate Eppo workspace for staging changes to Certified Metrics. Please contact your Eppo support representative or email support@geteppo.com to have this created.

To connect a GitHub repository, you’ll need to complete the following steps:

  1. Create an API key in both your production and staging Eppo workspaces. This can be done by going to Admin >> API Keys in each workspace. Make sure that the keys have read/write access to the Certified Metrics Sync permission
  2. Add the API keys as a GitHub secrets named EPPO_API_KEY and EPPO_API_KEY_STAGING. (Alternatively, you can use GitHub environments, but will need to adjust the workflow yaml below slightly)
  3. Create a new branch on the repository you want to connect, and add metric yaml files to a directory called eppo_metrics (you can name this whatever you like, you’ll just need to adjust the directory name referenced in the GitHub workflow below)
  4. Copy the following GitHub workflow yaml into a new file .github/workflows/run_eppo_metric_sync.yaml . Replace demo_company_metric_repository with something that applies to your business and the set of metrics you are syncing (e.g., business_north_star_metrics)
name: Sync Eppo Metrics

on:
pull_request:
branches:
- main
push:
branches:
- main

jobs:
deploy:
runs-on: ubuntu-latest

steps:
- uses: actions/checkout@v3
- name: Set up Python 3.10
uses: actions/setup-python@v3
with:
python-version: "3.10"
- name: Install dependencies
run: |
python3 -m pip install --upgrade pip
python3 -m pip install eppo_metrics_sync

- name: Sync Eppo Metrics (Prod)
env:
EPPO_API_KEY: ${{ secrets.EPPO_API_KEY }}
EPPO_SYNC_TAG: demo_company_metric_repository
if: github.event_name != 'pull_request'
run: |
python3 -m eppo_metrics_sync eppo_metrics

- name: Sync Eppo Metrics (Staging)
env:
EPPO_API_KEY: ${{ secrets.EPPO_API_KEY_STAGING }}
EPPO_SYNC_TAG: demo_company_metric_repository
run: |
python3 -m eppo_metrics_sync eppo_metrics
  1. Push this to your new GitHub branch and confirm that the new metrics are showing up in your staging environment. You can view the metric sync logs on the Admin page under Metric Sync Log

Certified metrics logs

  1. Once you are happy with your new metrics, merge the branch to main and you should see your new Certified Metrics in your production Eppo environment!